
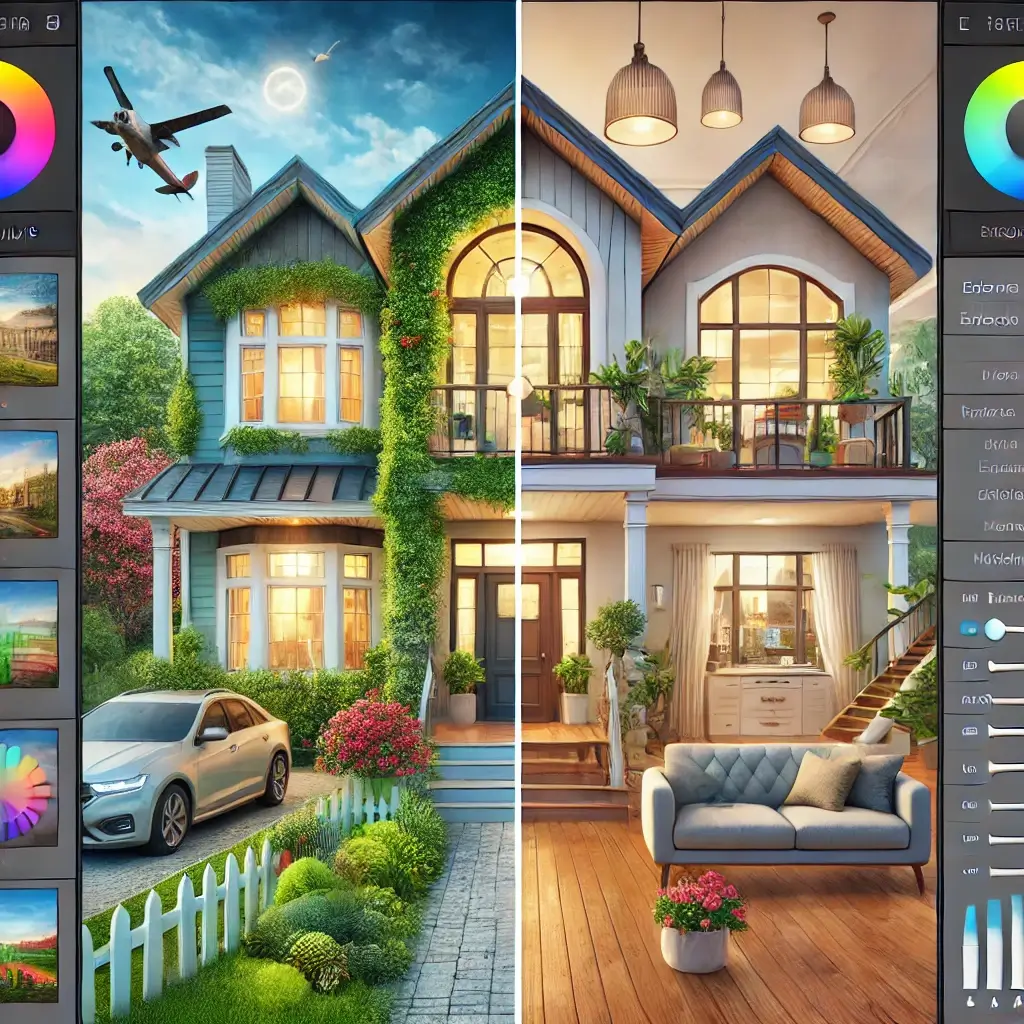
You’ll learn everything you need to how to edit real estate photos in lightroom and photoshop with this complete guide. This article is packed with useful information that will help you improve the way you edit real estate photos. It covers everything from making HDR photos look better to using presets, lens corrections, and window stretching. As a real estate photographer, whether you’re new to the business or a seasoned pro, this guide will help you get better, save time, and create listing shots that buyers will want to see.
Check Our Services
What makes Lightroom perfect for editing real estate photos?
Real estate photographers love Lightroom because it allows them to edit their photos without destroying them and has powerful workflow tools. Lightroom stands out from other software because it allows you to quickly make changes to real estate photos without making any changes to the original. You can also enhance your photos with Adobe Lightroom’s powerful tools, such as the Basics panel, tone curve adjustments, and color correction sliders.
Lightroom lets you create HDR photos to quickly get rid of unwanted photos, fix lens issues, and combat uneven lighting when editing real estate photos. Because Adobe focuses on non-destructive editing, the original quality of the images you work on is preserved. This means you can go back and change your changes whenever you want.
How to Set Up Your Real Estate Photography Editing Workflow
To save time and keep things consistent, you need to streamline your editing process. First, organize your work in a way that makes sense. As an example:
- Sort through your photos and choose the best ones to enhance.
- Put your shots in folders and label them with terms like “exterior,” “interior,” and “HDR set.”
- You can use Lightroom’s uploader to add images and start making changes without destroying them.
A clear process makes it easy to work on multiple things at once, which is especially helpful when you’re taking care of listing photos for busy real estate agents or creating marketing materials with affiliate links.
Essential Tools for Editing Real Estate Photos in Lightroom

Lightroom has many tools that make editing real estate shots easy and effective. Important tools include:
- Basics panel: Adjust white balance, exposure, highlights, and shadows to fix photos that are too dark or too light.
- Basic Panel: Adjust exposure, highlights, shadows, and white balance to correct uneven lighting and washed-out images.
- Presets: You can save time by using settings that are already set up to work well for real estate photos.
You can improve your real estate photography and keep your process running smoothly by using these tools.
Why Lens Correction and White Balance Are Important for Real Estate Photography
Lens correction is necessary to correct the flaws that wide-angle lenses, which are often used for real estate photography, can cause. To adjust the lens:
- Open Lightroom and go to the Lens Correction panel.
- If you check “Enable Profile Correction,” the distortion will be fixed immediately.
- Also, remove horizontal lines to keep the perspective correct.
Correcting the white balance ensures that colors look realistic, especially in rooms with different types of lighting. To get the effect you want and give the photo a warm, friendly look for potential buyers, use the White Balance slider.
Using HDR to Transform Uneven Lighting in Real Estate Photos
When shooting real estate photos with a wide dynamic range, HDR editing is a must. Do these things:
- Take multiple exposures as you shoot.
- To create a balanced image from your photos, use Lightroom’s HDR Merging tool.
- Use the tool on the right to fine-tune the result by changing highlights and shadows.
By balancing bright windows with dark interior features, HDR editing makes your listing photos look more polished, making them more appealing.
The Role of Presets in Real Estate Photo Editing Services.
Lightroom presets make editing easier, save time, and ensure that your edits are consistent. Lightroom presets let you do the following, whether you create your own or find them online:
- Make similar changes to multiple photos.
- Save your own changes for later use.
- Make it easier to update your real estate photos.
Real estate picture editors who need to work quickly and with a lot of images will find presets especially useful.
How to Edit Exteriors and Interiors for Maximum Buyer Appeal
There are several ways to edit exterior and interior photos. For exteriors:
- Sharpen and clean up the image to bring out the architectural features.
- Adjust highlights and shadows to bring out natural light.
For interior:
- Make sure the lighting is right so that every corner is well lit.
- You can use the mask tool to brighten up specific parts of an image without changing the entire thing.
Focusing on both the exterior and interior of a property will ensure that your real estate photos show off all its features, which will attract buyers.
Window Pull Editing: Creating a Balanced Exposure
Window pull is an important part of editing real estate photos, especially for rooms with bright views of the outside. How to do it:
- You can target window spots in Lightroom using the masking tools.
- Adjust the exposure and color to keep the exterior details.
- For a unified look, make sure the lighting inside and outside is equal.
If you learn to pull windows, the quality of your real estate photos will increase significantly, making them stand out in listings.
Using Photoshop to Improve Your Real Estate Photo Editing
Lightroom is great for making simple changes, but Photoshop is better for more complex edits. How to use Photoshop:
- Get rid of any unnecessary objects or distractions.
- It’s easy to combine images for pulling windows.
- Finish by sharpening and reducing images for the web.
When you use Adobe Lightroom and Photoshop together, your images will look clean and professional.
Tips and tricks for non-destructive editing and quality image export
Lightroom is known for its non-destructive editing. Use this type of tool all the time:
- You can save changes to the image separately from the original in a sidecar file.
- Useful naming conventions to keep track of changes.
- Export options are optimized for web or print so that image quality is maintained.
Start editing in Lightroom and then move on to Photoshop for more in-depth changes for the best results. This two-pronged approach helps create images that are good enough for professionals.
In Conclusion
Real estate photo editing is both an art and a science, and mastering tools like Lightroom and Photoshop is essential for creating images that stand out in today’s competitive real estate market. Learning how to edit real estate photos in Lightroom and Photoshop allows you to implement a structured workflow, utilize features like presets and HDR, and apply sophisticated techniques like lens correction and window pulls to transform ordinary photos into eye-catching visuals that capture buyers’ attention.
Whether you’re an experienced real estate photographer or just starting out, embracing these editing techniques will not only save you time but also ensure professional, high-quality results. Remember, great real estate photography isn’t just about showcasing a property; it’s about telling a story that resonates with potential buyers. By refining your editing skills and harnessing the power of Adobe Lightroom and Photoshop, you’ll hone your craft and help properties shine in their best light.